
Safety Precautions
Always keep the coffee maker away from heat sources and never touch hot surfaces. Avoid opening the top cover while brewing and unplug when not in use. Ensure the appliance is placed on a stable, heat-resistant surface and never operate it without water.
1.1 Important Safeguards and Precautions
Read the manual thoroughly before use. Keep the coffee maker away from heat sources and flammable materials. Never touch hot surfaces or operate the appliance near open flames. Ensure the carafe is securely placed before brewing. Avoid overfilling the water tank and always unplug the unit when not in use. Keep children away from the appliance while it is in operation. Regularly inspect the power cord and plug for damage. Do not immerse electrical parts in water or operate the coffee maker if it is damaged.
1.2 Electrical Safety Guidelines

Never submerge electrical components in water or operate the coffee maker near water sources. Use the appliance on a stable, flat surface to prevent tipping. Avoid overloading circuits or using damaged power cords. Keep the coffee maker away from direct sunlight and moisture. Unplug the unit when not in use or during cleaning. Ensure the power cord is free from damage and avoid using adapters or extensions that may cause overheating. Always follow the recommended voltage and power specifications for safe operation.
1.3 Appliance Placement and Stability
Position the coffee maker on a flat, heat-resistant surface away from walls and cabinets to ensure proper airflow. Place it on a stable countertop to prevent tipping. Keep the appliance at least 4 inches away from any flammable materials. Ensure the power cord is securely positioned to avoid tripping hazards. Never place the coffee maker near hot burners, ovens, or open flames. The surface should be clean and dry to maintain stability and prevent accidental movement during operation.

Initial Setup and Installation
Unpack the coffee maker, inspect for damage, wash removable parts, and position it on a stable, heat-resistant surface. Plug in the power cord carefully.
2.1 Unpacking and Inventory

Start by carefully unboxing the coffee maker and inspecting all components for any damage. Ensure all accessories, including the carafe, brew basket, and power cord, are included. Wash the carafe, brew basket, and any removable parts with warm soapy water before first use. Rinse thoroughly and dry to prevent any residual taste. This step ensures your coffee maker is clean and ready for initial setup.
2.2 Step-by-Step Setup Instructions
Welcome your new coffee maker! Place it on a stable, heat-resistant surface, ensuring proper ventilation. Plug the power cord into a nearby electrical outlet. Press the power button to turn it on. The clock will flash; use the hour and minute buttons to set the current time. Fill the water tank to the minimum level (8 oz) to ensure proper operation. Your coffee maker is now ready for brewing. Follow these steps carefully for optimal performance.
2.3 Positioning the Coffee Maker
Position the coffee maker on a flat, stable surface, ensuring it is at least 4 inches away from walls or cabinets. Avoid placing it near heat sources, such as stovetops or ovens, to prevent damage. The area should be clear of flammable materials. Ensure the power cord is accessible and not pinched. Proper placement enhances safety and functionality. Keep the coffee maker away from direct sunlight to maintain optimal performance and longevity of the appliance.

Operating the Coffee Maker
Fill the water tank, add coffee grounds to the filter, and select your desired settings. Press the brew button to start the coffee-making process.
3.1 Brewing Instructions
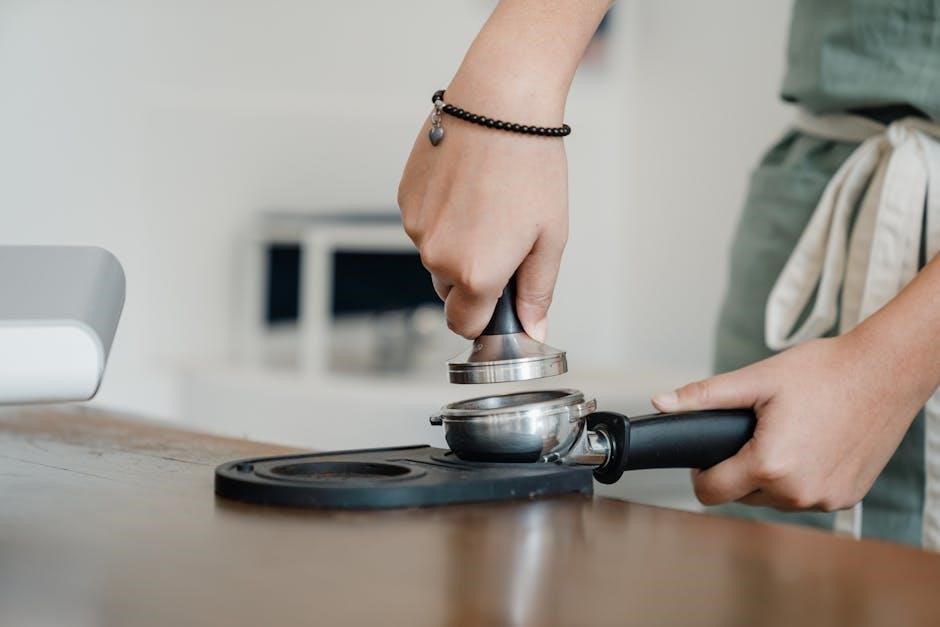
To brew coffee, fill the water tank to the recommended level, ensuring it’s at least 8 ounces. Add ground coffee to the filter basket, securing it properly. Place the carafe under the brew basket and select your desired settings. Press the brew button to start the process. Allow the coffee maker to complete the cycle before serving. For optimal flavor, use fresh, cold water and the appropriate amount of coffee grounds. Always let the machine cool before cleaning or moving parts.
3.2 Customizing Brew Settings
Customize your brew by selecting from different strength options, such as strong or regular. Use the programmable timer to schedule brewing in advance. Adjust the cup size to accommodate various mug sizes using the adjustable drip tray. For single-serve brewing, utilize the capsule adaptor. Ensure the water tank is filled to the recommended level for optimal performance. Experiment with coffee-to-water ratios to achieve your preferred taste. Always follow the manual’s guidelines to avoid damage and ensure the best results.
3.4 Using the Programmable Features
Program your coffee maker to brew coffee at a specific time using the digital clock. Press and hold the PROGRAM button to set the desired time, then confirm with the hour and minute buttons. Schedule brewing up to 24 hours in advance for convenience. The programmable timer ensures your coffee is ready when you need it. Refer to the manual for detailed instructions on setting and adjusting the timer. This feature enhances your morning routine by saving time and effort. Always ensure the clock is accurately set for proper functionality.
Cleaning and Maintenance
Regularly clean the coffee maker by unplugging it and washing the brew basket, carafe, and filter with warm, soapy water. Descale periodically to remove mineral buildup and wipe the exterior with a damp cloth to maintain performance and hygiene.
4.1 Daily Cleaning Tasks
After each use, unplug the coffee maker and allow it to cool. Empty the coffee grounds from the filter basket and rinse it thoroughly. Wash the carafe and lid with warm, soapy water, ensuring no residue remains. Wipe the machine’s exterior with a damp cloth to remove any splatters or spills. Regularly check and clean the water tank to maintain freshness. Always dry all parts before reassembling to prevent water spots and bacterial growth.
4.2 Descaling Procedures
Descaling your coffee maker is essential to remove mineral buildup. Use a descaling solution or a mixture of equal parts water and white vinegar. Fill the water tank with the solution and run a full brewing cycle. Repeat if necessary. After descaling, run 2-3 cycles with fresh water to rinse thoroughly. This process ensures optimal performance and prevents scaling damage. Regular descaling extends the life of your coffee maker and maintains the quality of your brewed coffee.
4.3 Deep Cleaning the Brew Basket and Carafe
Regularly deep clean the brew basket and carafe to remove old coffee oils and residue. Wash the brew basket and carafe with warm soapy water, then rinse thoroughly. For tougher stains, soak in a mixture of equal parts water and white vinegar for 30 minutes. Dry with a soft cloth to prevent water spots. Ensure the carafe handle is secure and free from loosening. Cleaning these parts regularly ensures fresher-tasting coffee and maintains the longevity of your coffee maker.

Troubleshooting Common Issues
If the coffee maker doesn’t turn on, check the power cord connection. For poor water flow, ensure the tank is filled and the filter is clean. Descale regularly to prevent mineral buildup and maintain proper function. Refer to the manual for resetting or addressing error messages. Always unplug the unit before attempting repairs to avoid electrical hazards. Regular maintenance helps resolve most common issues effectively.
5.1 Identifying Common Problems
Common issues with the coffee maker include the machine not turning on, poor water flow, or inconsistent brewing; These are often due to power cord issues, an empty water tank, or clogged filters. Mineral buildup from hard water can also cause reduced performance. Error messages may indicate specific malfunctions. Regularly check for loose connections and ensure proper setup. If issues persist, refer to the troubleshooting guide or reset the machine as instructed in the manual. Always unplug before attempting repairs to ensure safety.
5.2 Resetting the Coffee Maker
To reset the coffee maker, unplug it from the power source and let it cool for 30 minutes. This process helps restore factory settings and resolve minor malfunctions. Plug it back in and ensure the water tank is filled properly. Press and hold the “Program” button while turning it on to reset the clock and settings. If issues persist, repeat the process or refer to the troubleshooting guide for further instructions. Always unplug before attempting any maintenance or repairs.
5.3 Solving Water Tank and Flow Issues
Ensure the water tank is filled to the minimum level to prevent damage. Descale the machine regularly to remove mineral buildup that may block water flow. Check for kinks or blockages in the water tube and clean or replace it if necessary. If water flow is uneven, ensure the tank is properly aligned and securely locked. If issues persist, reset the coffee maker by unplugging it, waiting 30 seconds, and plugging it back in. This often resolves electronic or sensor-related water flow problems.

Additional Features and Accessories
Explore programmable timer functionality, capsule adaptor compatibility, and optional accessories like thermal carafes or reusable filters to enhance your brewing experience with the Cooks coffee maker.
6.1 Programmable Timer Functionality
The programmable timer allows you to set brew times up to 24 hours in advance. Press and hold the PROGRAM button to activate the timer, then use the hour and minute buttons to set your desired time. Confirm with the SELECT button. Ensure the water tank is filled and the carafe is in place before programming. This feature ensures your coffee is ready when you need it, offering convenience and consistency for daily use.
6.2 Using the Capsule Adaptor
To use the capsule adaptor, ensure the water tank is filled to the minimum level. Install the adaptor in the designated slot, then insert a compatible coffee capsule. Close the compartment firmly and select your preferred cup size. Start brewing and allow the machine to puncture the capsule for a perfect extraction. After brewing, remove and discard the used capsule. This feature offers versatility for single-serve brewing, enhancing your coffee-making experience with convenience and variety.
6.3 Optional Accessories
Enhance your coffee-making experience with optional accessories like a thermal carafe for keeping coffee warm longer or a reusable capsule for eco-friendly brewing. Additional filters and cleaning brushes are also available to maintain optimal performance. For convenience, consider a travel mug designed to fit the machine’s drip tray. These accessories can be purchased separately to customize your coffee maker according to your preferences. Refer to the manual or manufacturer’s website for compatible options and ordering details.
Regularly clean and descale your coffee maker to ensure optimal performance and longevity. Always follow safety guidelines and refer to the manual for troubleshooting and maintenance tips.
7;1 Final Tips for Optimal Performance
For the best results, clean the brew basket and carafe daily and descale regularly to prevent mineral buildup. Use filtered water to enhance flavor and longevity. Avoid overfilling the water tank and ensure the coffee maker is placed on a stable surface. Experiment with brew settings to find your perfect cup. Always unplug the appliance when not in use and refer to the manual for troubleshooting. Proper care ensures consistent performance and extends the lifespan of your coffee maker.