
Welcome to the Chamberlain LiftMaster Professional 1/3 HP Owner’s Manual, your comprehensive guide to installing, operating, and maintaining your garage door opener. This manual provides essential information for safe and effective use, ensuring optimal performance and longevity of your device.
Overview of the Garage Door Opener
The Chamberlain LiftMaster Professional 1/3 HP is a reliable garage door opener designed for residential use. With a powerful 1/3 horsepower motor, it ensures smooth operation for standard-sized garage doors. Featuring advanced MyQ technology, it allows wireless control via smartphones. Compatible with keypads and remotes, this model offers convenience and security for homeowners seeking efficient garage door solutions.
Importance of Reading the Manual
Reading the Chamberlain LiftMaster Professional 1/3 HP owner’s manual is crucial for safe and effective use. It provides detailed instructions for installation, operation, and troubleshooting, ensuring proper functionality. The manual highlights essential safety precautions and maintenance tips, helping you understand advanced features and diagnostic techniques to optimize performance and extend the lifespan of your garage door opener.
Key Features of the Chamberlain LiftMaster Professional 1/3 HP
The Chamberlain LiftMaster Professional 1/3 HP features a robust motor designed for reliable operation, along with advanced safety reversing sensors to prevent accidents. It includes programmable remote controls and keypads for secure access, and is compatible with myQ technology for smartphone integration. The system also offers quiet operation and energy-efficient performance, ensuring smooth and durable functionality for residential use.

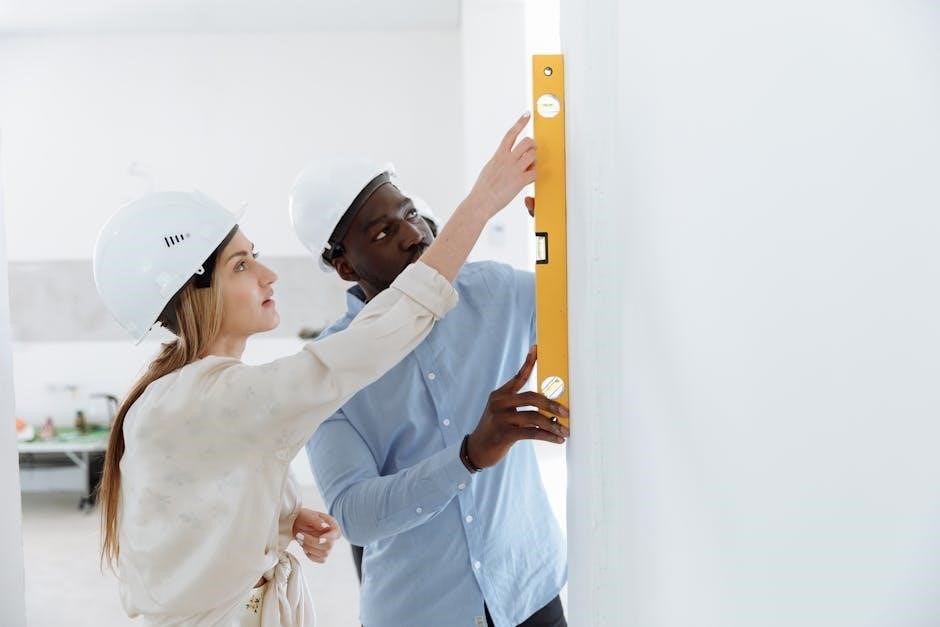
Installation Guidelines
Ensure proper preparation and safety by consulting the wiring diagram and completing pre-installation steps. Follow manufacturer instructions to avoid exceeding 8 door operation cycles per hour.
Pre-Installation Checklist
- Ensure the garage door is properly balanced and functions smoothly manually.
- Verify the header bracket is securely attached to the garage opening.
- Measure the garage door opening to confirm compatibility with the opener.
- Ensure a power source is available near the installation area.
- Check for any obstructions or hazards in the garage door’s path.
Step-by-Step Installation Process
Assemble the rail and attach the trolley to the motor unit. 2. Mount the motor securely to the garage ceiling. 3. Install the rail system, ensuring proper alignment. 4. Connect the door arms to both the door and rail. 5. Install safety reversing sensors. 6. Plug in the opener and test functionality. 7. Program remote controls and test operation.
Understanding the Wiring Diagram
The wiring diagram outlines connections for the motor, sensors, and controls. It shows how to link the power source, safety sensors, and remote components. Ensure all wires match the diagram to avoid malfunctions. Verify sensor alignment and proper connections for safe operation. Consult the diagram before starting installation to prevent errors and ensure compliance with safety guidelines.
Common Installation Mistakes to Avoid
Avoid misaligning safety sensors, as this can disable proper operation. Ensure wiring matches the diagram precisely to prevent electrical issues. Do not skip verifying sensor alignment or trolley placement. Incorrect installation of the motor or rails can cause imbalance. Always follow the sequence outlined in the manual and test safety features post-installation to ensure functionality and safety.
Operating the Chamberlain LiftMaster Professional 1/3 HP
Operating your Chamberlain LiftMaster Professional 1/3 HP is straightforward and efficient. Use remote controls or keypads for seamless functionality. Ensure proper alignment of safety sensors for smooth operation and emergency manual override when needed. Regularly test reversing sensors and adjust settings as required for optimal performance and safety.
Programming Remote Controls and Keypads
Programming your Chamberlain LiftMaster Professional 1/3 HP remote controls and keypads ensures seamless operation. Follow the manual’s step-by-step guide to sync devices with your opener. Enter the correct codes and test functionality post-programming. Visit www.liftmaster.com for detailed instructions or troubleshooting tips specific to your model, such as the 1345C. Regularly test sensors and adjust settings for optimal performance.
Basic Functionality and Daily Operation
Your Chamberlain LiftMaster Professional 1/3 HP opener ensures smooth and reliable garage door operation. Use the remote control or keypad for easy access. The opener features a quick disconnect door arm for emergency manual operation and safety reversing sensors for added security. Refer to the manual for detailed instructions on daily use and troubleshooting common issues.
Advanced Features and Settings
Explore advanced features like timer-to-close, motion detection, and adjustable force settings for enhanced convenience and security. Customize your opener’s behavior through the myQ app for remote monitoring and control. Refer to the manual for detailed instructions on configuring these settings to optimize performance and integrate with smart home systems seamlessly.
Maintenance and Troubleshooting
Regularly inspect and lubricate moving parts, check safety sensors, and address common issues promptly. Use diagnostic techniques to identify and resolve problems efficiently, ensuring smooth operation.
Regular Maintenance Schedule
Perform monthly checks of safety sensors and cables for wear. Lubricate moving parts quarterly and ensure proper alignment. Schedule annual professional inspections for motor and gear components. Replace worn parts promptly using authorized service kits like 041A4373ATS for optimal functionality and safety.
Troubleshooting Common Issues
Check remote controls for battery life and sensor alignment. Ensure safety sensors are clean and properly aligned. If the door reverses unexpectedly, inspect for obstructions. For motor issues, verify wiring connections and consult the wiring diagram. Replace worn parts with authorized kits, such as 041A4373ATS, to resolve common operational problems effectively.
Diagnostic Techniques
Start with visual inspections of sensors, wiring, and door alignment. Test remote controls and keypads for functionality. Check for obstructions and ensure safety sensors are properly aligned. Consult the wiring diagram to verify connections. Use diagnostic modes or LED indicators on the motor unit to identify issues. Always refer to the manual for specific troubleshooting steps.

Safety Guidelines and Precautions
Always disable garage door locks before installation and operation. Ensure safety sensors are properly aligned to prevent accidents. Avoid overloading the motor and never operate the door near children or pets. Regularly inspect cables, springs, and sensors for wear. Follow manufacturer guidelines to ensure safe and reliable performance of your Chamberlain LiftMaster Professional 1/3 HP opener.
Essential Safety Precautions
Never exceed 8 complete cycles of door operation per hour to prevent motor overload. Ensure safety reversing sensors are properly aligned and functioning. Keep the garage door area clear of obstacles and avoid operating near children or pets. Always follow installation guidelines and avoid attempting repairs without professional assistance. Proper maintenance ensures safe and reliable operation of your Chamberlain LiftMaster Professional 1/3 HP opener.
Emergency Manual Operation
In an emergency, disconnect the garage door from the opener by pulling the emergency release cord. Ensure the door is balanced and free from locks. Manually operate the door with care, avoiding sudden movements. Always reattach the door to the opener before resuming normal operation. Consult the manual or a professional for assistance if needed.
Safety Reversing Sensors
The Chamberlain LiftMaster Professional 1/3 HP features safety reversing sensors to prevent accidents. These sensors detect obstacles in the door’s path, reversing the door’s direction automatically. Ensure sensors are properly aligned and free from obstructions. Test the sensors regularly by placing an object in the door’s path to confirm they function correctly. Always refer to the manual for adjustment instructions.
Parts and Accessories
This section details replacement parts, service kits, and accessories for your Chamberlain LiftMaster Professional 1/3 HP opener, ensuring optimal performance and functionality. Consult your manual or authorized dealers for genuine components.
Identifying Replacement Parts
To maintain your Chamberlain LiftMaster Professional 1/3 HP opener, use genuine replacement parts like Service Kit 041A4373A for safety reversing sensors. Refer to your manual or authorized dealers for correct part numbers and compatibility. Ensure all components meet manufacturer specifications to guarantee proper functionality and safety.
Accessories for Enhanced Functionality
Enhance your Chamberlain LiftMaster Professional 1/3 HP opener with accessories like the Keyless Entry System (model 66LM) for secure external operation and the myQ Wireless Keypad (L979M, CH348, CH348C). These accessories integrate seamlessly with your opener, offering convenience and advanced control. Visit authorized dealers or the official website to explore compatible options for improved functionality.

Professional Service and Support
For professional installation, parts, and service, contact your local Chamberlain/LiftMaster dealer. Visit www.liftmaster.com or call the service number for a list of authorized dealers in your area.
When to Contact a Professional
Contact a professional for complex installations, repairs, or maintenance beyond basic troubleshooting. Experts ensure safety, proper functionality, and warranty compliance. They handle advanced issues like motor repairs or sensor alignment, providing specialized tools and knowledge for optimal performance and reliability.
Locating Authorized Dealers
To find authorized Chamberlain LiftMaster dealers, visit the official website and use the dealer locator tool. You can also check the Yellow Pages or contact customer service for a list of professionals in your area. Ensure your installer is certified for warranty compliance and reliable service.
Customer Service Contact Information
For assistance, contact Chamberlain LiftMaster customer service at 1-800-528-2817 or visit their official website at www.liftmaster.com. Representatives are available to help with inquiries, parts orders, and technical support. Ensure to have your model number ready for efficient service. This resource is crucial for resolving issues and accessing authorized support promptly.
Final Tips for Optimal Performance
Regularly inspect and maintain your garage door opener to ensure smooth operation. Always follow the recommended maintenance schedule and address any issues promptly. Properly program remote controls and keypads to enhance functionality. Check safety sensors periodically to ensure they are working correctly. By adhering to these guidelines, you can maximize the lifespan and efficiency of your Chamberlain LiftMaster Professional 1/3 HP opener.
Importance of Following Manufacturer Guidelines
Adhering to the manufacturer’s guidelines ensures safe and proper installation, operation, and maintenance of your Chamberlain LiftMaster Professional 1/3 HP opener. Failure to follow instructions can lead to safety hazards, malfunctions, or voiding the warranty. Always refer to the manual for specific recommendations and best practices to guarantee optimal performance and longevity of your garage door opener system.