
The Honeywell FocusPRO 5000 is a non-programmable digital thermostat designed for ease of use and energy efficiency. This guide provides step-by-step installation instructions to ensure proper setup and functionality, helping users achieve optimal performance from their HVAC system.
Overview of the Honeywell 5000 Thermostat
The Honeywell FocusPRO 5000 is a non-programmable digital thermostat designed for simplicity and energy efficiency. It is compatible with both conventional and heat pump systems, offering a straightforward interface for temperature control. The thermostat features a basic design that integrates seamlessly with most home interiors. Its user-friendly installation process and compatibility with 24V systems make it a reliable choice for homeowners seeking precise climate control and ease of use.
Key Features and Benefits
The Honeywell FocusPRO 5000 offers a filter change reminder, low battery indicator, and compatibility with 24V HVAC systems. Its non-programmable design provides simplicity, while features like compressor protection ensure efficient heating and cooling. The thermostat supports conventional and heat pump systems, making it versatile for various home setups. Its user-friendly interface and advanced settings enhance comfort and energy savings, ensuring optimal performance and ease of operation.
Pre-Installation Steps
Pre-installation steps include switching off the HVAC system at the breaker, removing the old thermostat, and safely handling mercury components. Verify system compatibility and prepare the area for installation.
Powering Off the HVAC System
Switch off the HVAC system at the circuit breaker or main power source. Verify the system is completely off before starting installation. This ensures safety and prevents electrical hazards. Always confirm the power is off using a multimeter if unsure. Properly disconnecting power is crucial for safe and successful installation of the Honeywell 5000 thermostat.
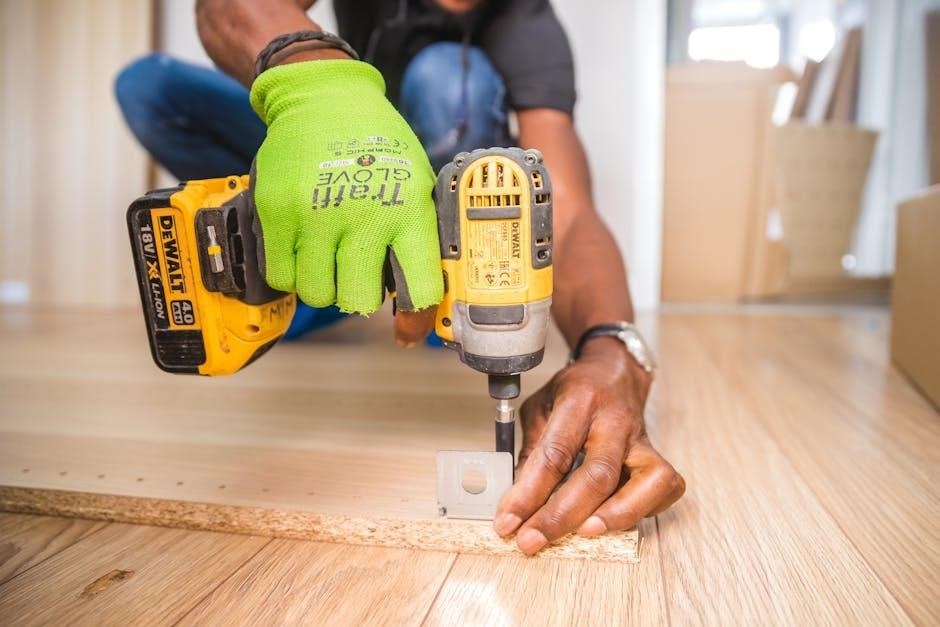
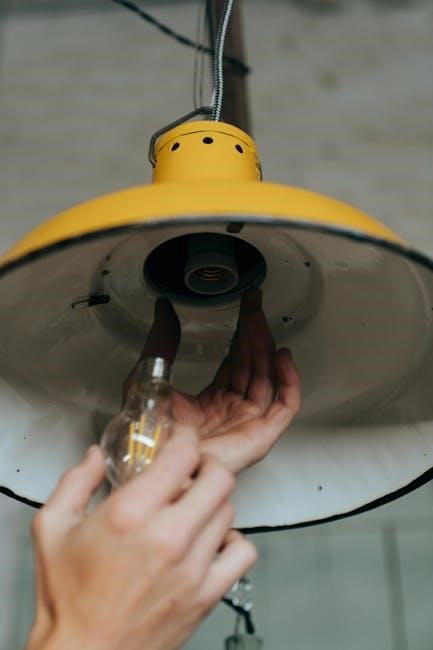
Removing the Old Thermostat
Begin by unscrewing or snapping off the thermostat cover. Gently pull the wires free and label them for reference. Carefully disconnect the thermostat from the wallplate, avoiding damage to wires or the wall. Remove any remaining components, ensuring the area is clear for the new installation. Handle mercury-containing parts safely if applicable. This step ensures a smooth transition to installing the Honeywell 5000 thermostat.
System Compatibility Assessment
Assess system compatibility by verifying HVAC type, wiring configuration, and power requirements. Ensure alignment with Honeywell’s specifications to avoid electrical hazards and ensure proper functionality.
Verifying HVAC System Type
Verify your HVAC system type by checking if it is conventional, heat pump, or dual-fuel. Confirm the number of heating and cooling stages supported. Ensure the Honeywell 5000 thermostat’s features align with your system’s capabilities for safe and efficient installation. Proper assessment prevents electrical hazards and ensures compatibility, avoiding potential malfunctions. Always refer to the manual for specific system requirements.
Checking Wiring Configuration
Verify the wiring configuration by matching each wire to its corresponding terminal (R, C, Y, W, G, etc.) based on your system type. Ensure all connections are secure and tightened properly. Double-check the wiring configuration against the manual to avoid errors. For heat pump systems, additional connections like auxiliary (Aux) or emergency heat (E) terminals may be required. Proper connections ensure reliable operation and prevent electrical hazards or system malfunctions.
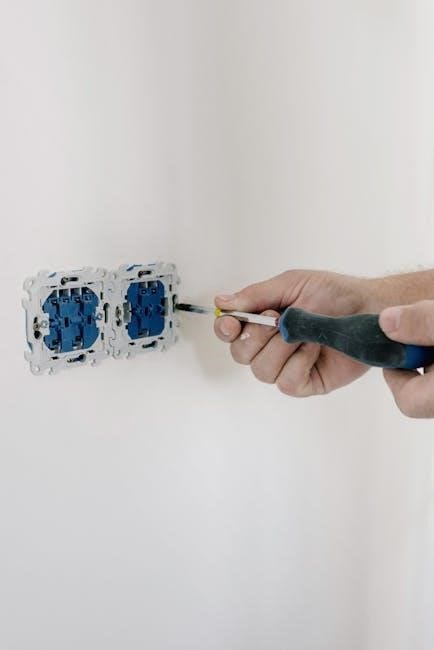
Wallplate Installation
Begin by removing the battery holder and pulling wires through the wire hole; Position the wallplate on the wall, ensuring it is level and secure with screws.
Mounting the Wallplate
Remove the battery holder and pull the wires through the wire hole. Position the wallplate on the wall, ensuring it is level. Mark the screw locations, drill pilot holes if necessary, and secure the wallplate firmly with screws. Align the screw holes accurately and tighten the screws to prevent any movement during thermostat installation. Proper mounting ensures a stable base for the thermostat.
Securing the Wallplate
After positioning the wallplate, mark the screw locations on the wall. Drill pilot holes if necessary for secure fastening. Use the provided screws to firmly attach the wallplate, ensuring it is tightly fastened to prevent shifting. Double-check the alignment and ensure all screws are snug. Proper securing guarantees a stable installation and prevents potential issues with the thermostat’s performance or display accuracy.
Wiring the Honeywell 5000 Thermostat
Wiring the Honeywell 5000 involves connecting terminals like R, C, Y, W, and G. Match each wire to its terminal, ensuring secure connections for proper system operation.
Wiring Conventional Systems
For conventional systems, connect wires to terminals R, C, Y, W, and G. Match each wire to its corresponding terminal, ensuring secure connections. R is for the heating system, C is the common wire, Y for cooling, W for heat, and G for fan control. Proper wiring ensures reliable operation and prevents electrical issues. Refer to the manual for specific diagrams and instructions tailored to your system type.
Wiring Heat Pump Systems
For heat pump systems, connect wires to terminals R, C, Y, W, G, and O/B. Ensure the reversing valve (O/B) is correctly wired to control heating and cooling modes. If using emergency heat, connect the auxiliary terminal or install a jumper between Aux and E. Always follow the manual’s wiring diagram for heat pumps to prevent damage and ensure safe, efficient operation.

Thermostat Mounting
Mount the Honeywell 5000 thermostat by aligning it with the wallplate, ensuring it is level and secure. Press firmly until it clicks into place.
Aligning the Thermostat

Align the Honeywell 5000 thermostat with the wallplate, ensuring it is level and properly seated. Use a spirit level to verify alignment. Gently adjust the position on the wallplate if necessary. Secure it firmly to prevent movement, ensuring accurate temperature sensing and smooth operation. Proper alignment is crucial for reliable performance and display accuracy.
Securing the Thermostat
After aligning the Honeywell 5000 thermostat with the wallplate, secure it firmly by pressing down until it clicks into place. Tighten the screws provided to ensure a snug fit. Verify the thermostat is level and properly seated to avoid movement. Double-check all connections for tightness. Proper securing ensures stable operation and prevents issues with temperature accuracy or display functionality.
Testing Post-Installation
Test the Honeywell 5000 by verifying heating, cooling, and emergency heat modes. Ensure proper system operation and smooth transitions between modes for reliable performance and efficiency.
Testing Heating and Cooling Modes
After installation, test heating and cooling modes by setting the thermostat to extreme temperatures. Ensure the system activates and operates smoothly. Verify stage transitions and check for unusual noises or malfunctions. This confirms compatibility and wiring accuracy, ensuring reliable performance and energy efficiency. Proper functionality guarantees optimal comfort and system reliability.
Verifying Emergency Heat Function
To verify the emergency heat function on your Honeywell 5000 thermostat, follow these steps:
- Select Emergency Heat Mode: Navigate to the thermostat settings and choose the emergency heat mode. This is typically found in the heating options menu.
- Activate the System: Set the thermostat to a temperature lower than the current room temperature to trigger the heating system. Ensure the system activates and runs smoothly.
- Check for Activation: Listen for the system turning on and feel for warm air to confirm heating. Emergency heat may use electric resistance heaters, which might produce a different sound.
- Monitor the Display: Look for an indicator on the thermostat display that shows when emergency heat is active, ensuring the system remains in this mode without switching back to the heat pump.
- Check Wiring and Configuration: Ensure all wires are correctly connected according to the manual. Verify that any required jumpers are in place to enable emergency heat functionality.
- Troubleshoot if Necessary: If the emergency heat doesn’t activate, check for power issues, blown fuses, or incorrect configurations. Refer to the manual for specific troubleshooting steps.
By following these steps, you can confirm that the emergency heat function is operational and properly configured, providing peace of mind for when extreme cold conditions arise.
Advanced Features and Settings
The Honeywell 5000 offers advanced features like compressor protection and customizable operating modes, ensuring efficient performance and enhanced user comfort with energy efficiency.
Compressor Protection
The Honeywell 5000 thermostat features built-in compressor protection, which prevents short-cycling by ensuring the compressor operates for a minimum time between cycles. This feature enhances system reliability and extends the lifespan of the HVAC equipment. It automatically regulates cooling operations, maintaining efficient performance while safeguarding against potential damage. Compressor protection is a key advanced setting that ensures optimal system operation and energy efficiency without requiring manual adjustments.
Customizable Operating Modes
The Honeywell 5000 thermostat offers multiple operating modes, including Heat, Cool, Off, and Auto, providing flexibility for user preferences. Heat mode activates the heating system, while Cool mode engages the cooling system. Auto mode automatically switches between heating and cooling based on the set temperature. These modes allow users to customize their comfort settings while optimizing energy usage, ensuring efficient performance tailored to their needs.
Customer Support and Warranty
Honeywell provides a 5-year limited warranty for the FocusPRO 5000 thermostat and offers dedicated customer support. Users can access installation manuals, troubleshooting guides, and contact information through Honeywell’s official website or regional offices for comprehensive assistance.
Honeywell’s Customer Assistance
Honeywell offers comprehensive customer support, including a 5-year limited warranty for the FocusPRO 5000 thermostat. Users can access installation manuals, troubleshooting guides, and contact information through Honeywell’s official website or regional offices. Dedicated customer service representatives are available to assist with queries, ensuring reliable support for optimal performance and home comfort. This commitment to customer satisfaction enhances the overall ownership experience.
Warranty Information
Honeywell provides a 5-year limited warranty for the FocusPRO 5000 thermostat, covering defects in materials and workmanship. This warranty ensures customers receive reliable support and protection for their investment. For detailed warranty terms, including coverage limitations and registration requirements, refer to the official Honeywell website or the product’s installation manual. Proper registration and adherence to installation guidelines are essential to maintain warranty validity.